Difference between revisions of "Bestiary"
(→Overall Enemy Locations) |
|||
| (39 intermediate revisions by 4 users not shown) | |||
| Line 1: | Line 1: | ||
| + | The Bestiary houses the list of enemies in the game except for [[World Bosses]]. They are marked on this page for regional locations and an image. More details are listed for each enemy within the regional bestiary pages, including loot and combat styles. | ||
| − | ==Level Indicators== | + | ==Level Indicators and Content Difficulty== |
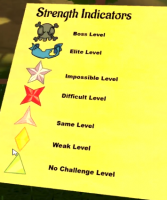
[[File:Monster_Difficulty.png|200x200px]] | [[File:Monster_Difficulty.png|200x200px]] | ||
| Line 12: | Line 13: | ||
Elite level enemies will also have a colored approximate strength indicator with the elite tier banner. Boss tier enemies do not have an approximate strength indicator, just the boss tier symbol. Note that with OrbusVR Reborn came scaled content. | Elite level enemies will also have a colored approximate strength indicator with the elite tier banner. Boss tier enemies do not have an approximate strength indicator, just the boss tier symbol. Note that with OrbusVR Reborn came scaled content. | ||
| − | + | In the Overworld, most enemies are scaled +6/-4, meaning you can only really hurt enemies at most as if you were 6 levels higher and at least as if you were 4 levels lower. In effect, if you are a level 15 or level 20 fighting a level 24 monster, you will do the same percentage damage, even if the damage values show up differently (and you will take the same percentage damage as well). If you are level 26 or 30 fighting a level 20 or lower scaled monster, the same would be true. This formula is only impacted by the use of tiered weapons and armor (+1 or higher), which will provide an additional level advantage to your damage or damage reduction. | |
| + | Unscaled monsters, enemies with brackets around their level indicator (or yellow icon once you target them), act as they previously did, with no cap on the level difference. | ||
| + | |||
| + | ==Overall Loot Table== | ||
| + | {| class="wikitable" style="text-align:center;" | ||
| + | ! Loot Item !! Image !! [[Bestiary - Highsteppe|Highsteppe]] !! [[Bestiary - Flooded Rainforest|Flooded Rainforest]] !! [[Bestiary - Lamavora Battlegrounds|Lamavora Battlegrounds]] !! [[Bestiary - Hulthine's Basin|Hulthine's Basin]] !! [[Bestiary - Wastelands|Wastelands]] !! [[Bestiary - Dungeons|Dungeons]] | ||
| + | |- | ||
| + | | Small Tongue || [[File:SmallTongue.png|100x100px]] || X || X || || || || | ||
| + | |- | ||
| + | | Small Tooth || [[File:SmallTooth.png|100x100px]] || X || X || X || X || || | ||
| + | |- | ||
| + | | Fat Fly || [[File:FatFly.png|100x100px]] || X || || X || || X || | ||
| + | |- | ||
| + | | Snake Bits || [[File:SnakeBits.png|100x100px]] || X || || X || || X || | ||
| + | |- | ||
| + | | Rotten Finger || [[File:RottenFinger.png|100x100px]] || X || X || X || || X || | ||
| + | |- | ||
| + | | Shiny Metal || [[File:ShinyMetal.png|100x100px]] || || X || || || X || | ||
| + | |- | ||
| + | | Blue Scales || [[File:BlueScales.png|100x100px]] || X || || X || X || X || | ||
| + | |- | ||
| + | | Eyeworm || [[File:Eyeworm.png|100x100px]] || || || X || || || | ||
| + | |- | ||
| + | | Lesser Eye || [[File:LesserEye.png|100x100px]] || X || || || || || | ||
| + | |- | ||
| + | | Feathers || [[File:Feathers.png|100x100px]] || X || X || X || || || | ||
| + | |- | ||
| + | | Bloody Flesh || [[File:BloodyFlesh.png|100x100px]] || || X || || || X || | ||
| + | |- | ||
| + | | Runemage Reagent || || X || X || X || X || X || | ||
| + | |} | ||
| + | |||
| + | ==Overall Enemy Locations== | ||
{| class="wikitable" style="text-align:center;" | {| class="wikitable" style="text-align:center;" | ||
| − | ! | + | ! Enemy<br>[Tier] !! Photo !! [[Bestiary - Highsteppe|Highsteppe]] !! [[Bestiary - Flooded Rainforest|Flooded Rainforest]] !! [[Bestiary - Lamavora Battlegrounds|Lamavora Battlegrounds]] !! [[Bestiary - Hulthine's Basin|Hulthine's Basin]] !! [[Bestiary - Wastelands|Wastelands]] !! [[Bestiary - Dungeons|Dungeons]] !! [[Bestiary - Drops|Drops]] |
| + | |- | ||
| + | | Sapling Stafrusher || [[File:SaplingStafrusher.jpeg|200x200px]] || X || || || || || || | ||
| + | |- | ||
| + | | Sapling Barkers || [[File:SaplingBarkers.jpeg|200x200px]] || X || || || || || || | ||
| + | |- | ||
| + | | Stafrusher || [[File:Stafrusher.jpeg|200x200px]] || X || X || || || || || | ||
| + | |- | ||
| + | | Barking Stafrusher || [[File:BarkingStafrusher.jpeg|200x200px]] || X || X || || || || || | ||
| + | |- | ||
| + | | Stafraster || [[File:Stafraster.jpeg|200x200px]] || X || X || || || || || | ||
| + | |- | ||
| + | | Stafrute || [[File:Stafrute.jpeg|200x200px]] || X || X || || || || || | ||
|- | |- | ||
| − | | | + | | Stafrage || [[File:Stafrage.jpeg|200x200px]] || X || X || || || || || |
|- | |- | ||
| − | | | + | | Spice Thief || [[File:SpiceThief.jpeg|200x200px]] || X || || || || || || |
| + | *Spice | ||
|- | |- | ||
| − | | Stafrusher || [[File:Stafrusher.jpeg|200x200px]] || | + | | Rushed Stafrusher || [[File:Rushed Stafrusher.jpeg|200x200px]] || X || X || || || || || |
|- | |- | ||
| − | | | + | | Volur Stafrage<br>[Elite] || [[File:VolurStafrage.jpeg|200x200px]] || X || X || || || || || |
|- | |- | ||
| − | | | + | | Sorceress || [[File:Sorceress.jpeg|200x200px]] || X || || || || || || |
|- | |- | ||
| − | | | + | | Agent of Darkness || [[File:AgentofDarkness.jpeg|200x200px]] || X || || || || || || |
|- | |- | ||
| − | | | + | | Enraged Stafrusher || [[File:EnragedStafrusher.jpeg|200x200px]] || X || || || || || || |
|- | |- | ||
| − | | | + | | Enraged Barking Stafrusher || [[File:EnragedBarkingStafrusher.jpeg|200x200px]] || X || || || || || || |
|- | |- | ||
| − | | | + | | Enraged Stafraster || [[File:EnragedStafraster.jpeg|200x200px]] || X || || || || || || |
|- | |- | ||
| − | | | + | | Enraged Stafrute || [[File:EnragedStafrute.jpeg|200x200px]] || X || || || || || || |
|- | |- | ||
| − | | | + | | Enraged Stafrage || [[File:EnragedStafrage.jpeg|200x200px]] || X || || || || || || |
|- | |- | ||
| − | | | + | | Fortified Stafrute || [[File:FortifiedStafrute.jpeg|200x200px]] || X || || || || || || |
|- | |- | ||
| − | | | + | | Elite Stafrusher || [[File:EliteStafrusher.jpeg|200x200px]] || X || || || || || || |
|- | |- | ||
| − | | | + | | Elite Stafraster || [[File:EliteStafraster.jpeg|200x200px]] || X || || || || || || |
|- | |- | ||
| − | | | + | | Elite Stafrage || [[File:EliteStafrage.jpeg|200x200px]] || X || || || || || || |
|- | |- | ||
| − | | | + | | Autumn Vulpes || [[File:AutumVulpes.jpeg|200x200px]] || X || || X || || || || |
| + | *Small Tooth | ||
|- | |- | ||
| − | | | + | | King Stag || [[File:KingStag.jpeg|200x200px]] || X || || || || || || |
|- | |- | ||
| − | | | + | | Queen Hind || [[File:QueensHind.jpeg|200x200px]] || X || || || || || || |
|- | |- | ||
| − | | | + | | Fawn || [[File:Fawn.jpeg|200x200px]] || X || || || || || || |
|- | |- | ||
| − | | | + | | Loose Experiment || [[File:FailedExperiment.jpeg|200x200px]] || X || || || || || || |
|- | |- | ||
| − | | | + | | Bucket Scav || [[File:BucketScav.jpeg|200x200px]] || || X || || X || X || || |
|- | |- | ||
| − | | | + | | Sniper Scav || [[File:SniperScav.jpeg|200x200px]] || || X || || X || X || || |
|- | |- | ||
| − | | | + | | Scav Buckler || [[File:ScavBuckler.jpeg|200x200px]] || || X || || X || || || |
|- | |- | ||
| − | | | + | | Colossus<br>[Elite] || [[File:Colossus.jpeg|200x200px]] || || X || || || || || |
|- | |- | ||
| − | | | + | | Horde || [[File:Horde.jpeg|200x200px]] || || X || || || || || |
|- | |- | ||
| − | | | + | | Enraged Marksman Scav || [[File:EnragedMarksmanScav.jpeg|200x200px]] || || X || || X || X || || |
| − | | | + | |- |
| − | + | | Enraged Pistoler Scav || [[File:EnragedPistolerScav.jpeg|200x200px]] || || X || || X || X || || | |
| − | |||
| − | |||
| − | |||
| − | |||
|- | |- | ||
| − | | | + | | Enraged Assassin Scav || [[File:EnragedAssassinScav.jpeg|200x200px]] || || X || || X || X || || |
|- | |- | ||
| − | | | + | | Enraged Scav Knight || [[File:EnragedScavKnight.jpeg|200x200px]] || || X || || X || X || || |
|- | |- | ||
| − | | | + | | Minion of Darkness || [[File:MinionofDarkness.jpeg|200x200px]] || || X || X || || || || |
|- | |- | ||
| − | | | + | | Void Caster || [[File:VoidCaster.jpeg|200x200px]] || || X || X || X || || || |
|- | |- | ||
| − | | | + | | Tear Minion || [[File:TearMinion.jpeg|200x200px]] || || X || X || || || || |
|- | |- | ||
| − | | | + | | Felid || [[File:Felid.jpg|200x200px]] || || X || || || || || |
| + | *Rotten Finger | ||
| + | *Feather | ||
| + | *Bloody Flesh | ||
|- | |- | ||
| − | | | + | | Truffle Hog || [[File:TruffleHog.jpeg|200x200px]] || || X || || || || || |
|- | |- | ||
| − | | | + | | Truffle Pigglet || [[File:TrufflePigglet.jpeg|200x200px]] || || X || || || || || |
|- | |- | ||
| − | | | + | | Chaos Giant<br>[Boss] || [[File:Chaos Giant.jpeg|200x200px]] || || || X || || || || |
|- | |- | ||
| − | | | + | | Tear Brute || [[File:Tear Brute.jpeg|200x200px]] || || || X || || || || |
|- | |- | ||
| − | | | + | | Tear Wizard || [[File:Tear Wizard.jpeg|200x200px]] || || || X || X || || || |
|- | |- | ||
| − | | Tear | + | | Tear Caster || [[File:Tear Caster.jpeg|200x200px]] || || || X || || || || |
|- | |- | ||
| − | | | + | | Tear General || [[File:Tear_General.jpeg|200x200px]] || || || X || || || || |
|- | |- | ||
| − | | | + | | General Minion || [[File:General Minion.jpeg|200x200px]] || || || X || || || || |
|- | |- | ||
| − | | | + | | Miner's Problem (Minion) || [[File:Miner's Problem (Minion).jpeg|200x200px]] || || || X || || || || |
| − | | | ||
| − | |||
| − | |||
| − | |||
| − | |||
| − | |||
|- | |- | ||
| − | | | + | | Miner's Problem (Brute) || [[File:Miner's Problem (Brute).jpeg|200x200px]] || || || X || || || || |
|- | |- | ||
| − | | | + | | Miner's Problem (Wizard) || [[File:Miner's Problem (Mage).jpeg|200x200px]] || || || X || || || || |
|- | |- | ||
| − | | | + | | Darkness Master || [[File:Darkness Master.jpeg|200x200px]] || || || X || || || || |
|- | |- | ||
| − | | | + | | Elite Tear Minion || [[File:Elite Tear Minion.jpeg|200x200px]] || || || X || || || || |
|- | |- | ||
| − | | | + | | Elite Tear Wizard || [[File:Elite Tear Wizard.jpeg|200x200px]] || || || X || || || || |
|- | |- | ||
| − | | | + | | Enraged Tear Brute || [[File:Enraged Tear Brute.jpeg|200x200px]] || || || X || || || || |
|- | |- | ||
| − | | | + | | Enraged Tear Wizard || [[File:Enraged Tear Wizard.jpeg|200x200px]] || || || X || || || || |
|- | |- | ||
| − | | | + | | Enraged Tear Caster || [[File:Enraged Tear Caster.jpeg|200x200px]] || || || X || || || || |
| − | | | ||
| − | |||
| − | |||
| − | |||
| − | |||
| − | |||
|- | |- | ||
| − | | | + | | Midnight Warg || [[File:Midnight Warg.jpeg|200x200px]] || || || X || X || || || |
|- | |- | ||
| − | | | + | | Spiked Pistoler Scav || [[File:Spiked Pistoler Scav.jpeg|200x200px]] || || || || X || || || |
| − | | | ||
| − | |||
| − | |||
| − | |||
| − | |||
| − | |||
|- | |- | ||
| − | | | + | | Void Brute || [[File:Void Brute.jpeg|200x200px]] || || || || X || || || |
|- | |- | ||
| − | | | + | | Enraged Tear Minion || [[File:Enraged Tear Minion.jpeg|200x200px]] || || || || X || || || |
| − | | | ||
| − | |||
| − | |||
| − | |||
| − | |||
| − | |||
|- | |- | ||
| − | | | + | | Scav Giant<br>[Boss] || [[File:Scav Giant.jpeg|200x200px]] || || || || X || || || |
|- | |- | ||
| − | | | + | | Bear || [[File:Bear.jpeg|200x200px]] || || || || X || X || || |
|- | |- | ||
| − | | | + | | Cub || [[File:Cub.jpeg|200x200px]] || || || || X || X || || |
|- | |- | ||
| − | | | + | | Assassin Scav || [[File:Assassin Scav.jpeg|200x200px]] || || || || || X || || |
|- | |- | ||
| − | | | + | | Pistoler Scav || [[File:PistolerScav.jpeg|200x200px]] || || || || || X || || |
|- | |- | ||
| − | | | + | | Marksman Scav || [[File:Marksman Scav.jpeg|200x200px]] || || || || || X || || |
|- | |- | ||
| − | | | + | | Scav Knight || [[File:Scav Knight.jpeg|200x200px]] || || || || || X || || |
|- | |- | ||
| − | | | + | | Tohmain || [[File:Tohmain.jpeg|200x200px]] || || || || || X || || |
| − | | | ||
| − | |||
| − | |||
| − | |||
| − | |||
| − | | | ||
| − | | | ||
|- | |- | ||
| − | |||
| − | |||
| − | + | | || || || || || || || || | |
| − | |||
| − | |||
|- | |- | ||
| − | | || | + | | || || || || || || || || |
|- | |- | ||
| − | | || | + | | || || || || || || || || |
|} | |} | ||
Latest revision as of 16:44, 5 February 2021
The Bestiary houses the list of enemies in the game except for World Bosses. They are marked on this page for regional locations and an image. More details are listed for each enemy within the regional bestiary pages, including loot and combat styles.
Level Indicators and Content Difficulty
Approximate strength (may be influenced by gear)
- Impossible: 2+ Levels above you
- Difficult: 1 Level above you
- Same Level: Equal level to you
- Weak Level: 1 Level below you
- No challenge: 2+ Levels below you
Elite level enemies will also have a colored approximate strength indicator with the elite tier banner. Boss tier enemies do not have an approximate strength indicator, just the boss tier symbol. Note that with OrbusVR Reborn came scaled content.
In the Overworld, most enemies are scaled +6/-4, meaning you can only really hurt enemies at most as if you were 6 levels higher and at least as if you were 4 levels lower. In effect, if you are a level 15 or level 20 fighting a level 24 monster, you will do the same percentage damage, even if the damage values show up differently (and you will take the same percentage damage as well). If you are level 26 or 30 fighting a level 20 or lower scaled monster, the same would be true. This formula is only impacted by the use of tiered weapons and armor (+1 or higher), which will provide an additional level advantage to your damage or damage reduction.
Unscaled monsters, enemies with brackets around their level indicator (or yellow icon once you target them), act as they previously did, with no cap on the level difference.
Overall Loot Table
| Loot Item | Image | Highsteppe | Flooded Rainforest | Lamavora Battlegrounds | Hulthine's Basin | Wastelands | Dungeons |
|---|---|---|---|---|---|---|---|
| Small Tongue | 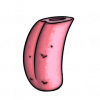 |
X | X | ||||
| Small Tooth | 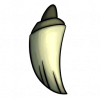 |
X | X | X | X | ||
| Fat Fly | 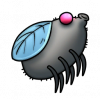 |
X | X | X | |||
| Snake Bits | 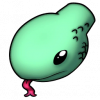 |
X | X | X | |||
| Rotten Finger | 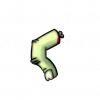 |
X | X | X | X | ||
| Shiny Metal | 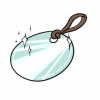 |
X | X | ||||
| Blue Scales | 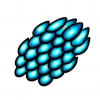 |
X | X | X | X | ||
| Eyeworm | 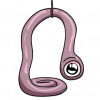 |
X | |||||
| Lesser Eye | 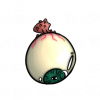 |
X | |||||
| Feathers | 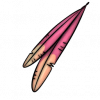 |
X | X | X | |||
| Bloody Flesh | 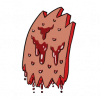 |
X | X | ||||
| Runemage Reagent | X | X | X | X | X |
Overall Enemy Locations
| Enemy [Tier] |
Photo | Highsteppe | Flooded Rainforest | Lamavora Battlegrounds | Hulthine's Basin | Wastelands | Dungeons | Drops |
|---|---|---|---|---|---|---|---|---|
| Sapling Stafrusher | 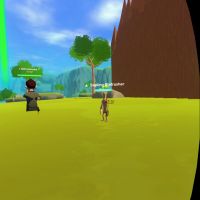 |
X | ||||||
| Sapling Barkers | 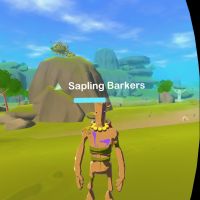 |
X | ||||||
| Stafrusher | 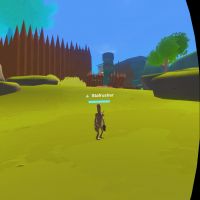 |
X | X | |||||
| Barking Stafrusher | 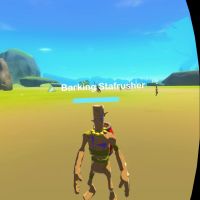 |
X | X | |||||
| Stafraster | 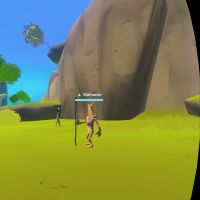 |
X | X | |||||
| Stafrute | 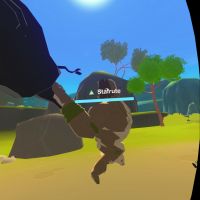 |
X | X | |||||
| Stafrage | 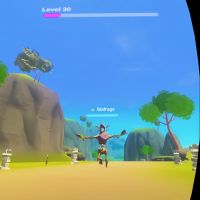 |
X | X | |||||
| Spice Thief | 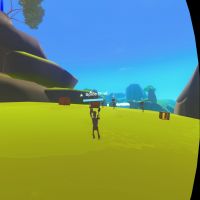 |
X |
| |||||
| Rushed Stafrusher | 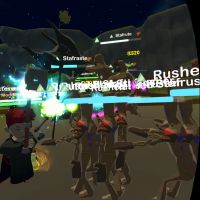 |
X | X | |||||
| Volur Stafrage [Elite] |
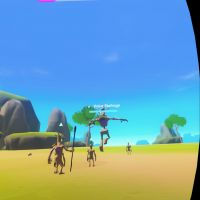 |
X | X | |||||
| Sorceress | 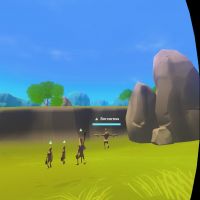 |
X | ||||||
| Agent of Darkness | 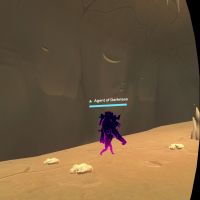 |
X | ||||||
| Enraged Stafrusher | 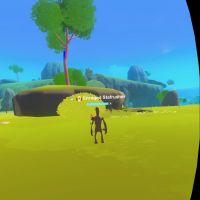 |
X | ||||||
| Enraged Barking Stafrusher | 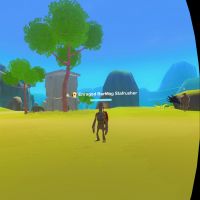 |
X | ||||||
| Enraged Stafraster | 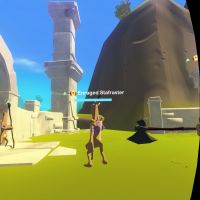 |
X | ||||||
| Enraged Stafrute | 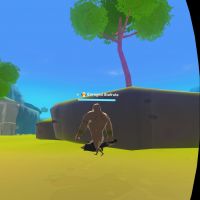 |
X | ||||||
| Enraged Stafrage | 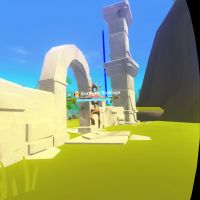 |
X | ||||||
| Fortified Stafrute | 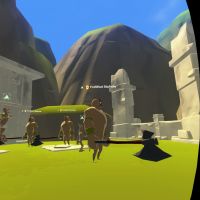 |
X | ||||||
| Elite Stafrusher | 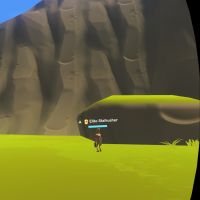 |
X | ||||||
| Elite Stafraster | 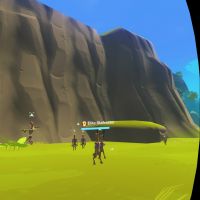 |
X | ||||||
| Elite Stafrage | 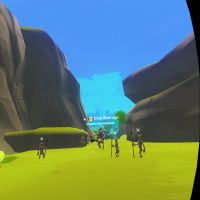 |
X | ||||||
| Autumn Vulpes | 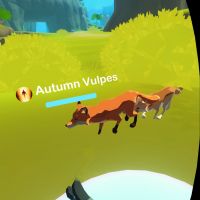 |
X | X |
| ||||
| King Stag | 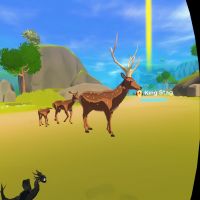 |
X | ||||||
| Queen Hind | 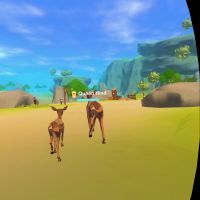 |
X | ||||||
| Fawn | 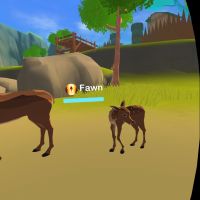 |
X | ||||||
| Loose Experiment | 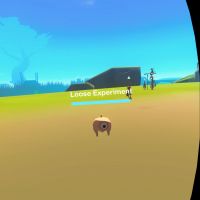 |
X | ||||||
| Bucket Scav | 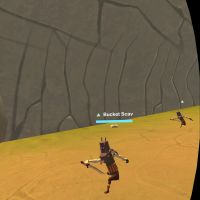 |
X | X | X | ||||
| Sniper Scav | 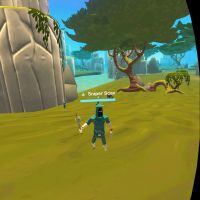 |
X | X | X | ||||
| Scav Buckler | 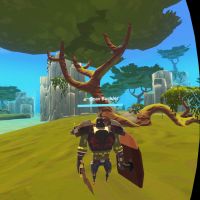 |
X | X | |||||
| Colossus [Elite] |
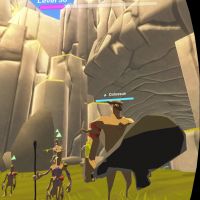 |
X | ||||||
| Horde | 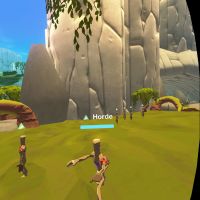 |
X | ||||||
| Enraged Marksman Scav | 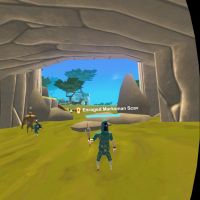 |
X | X | X | ||||
| Enraged Pistoler Scav | 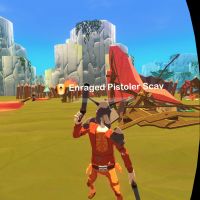 |
X | X | X | ||||
| Enraged Assassin Scav | 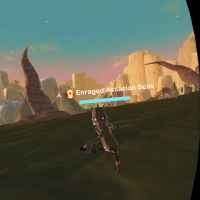 |
X | X | X | ||||
| Enraged Scav Knight | 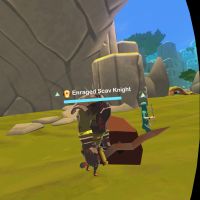 |
X | X | X | ||||
| Minion of Darkness | 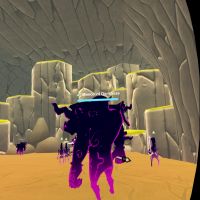 |
X | X | |||||
| Void Caster | 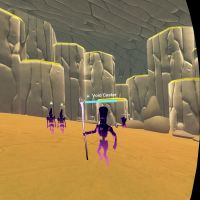 |
X | X | X | ||||
| Tear Minion | 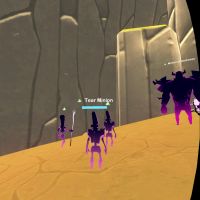 |
X | X | |||||
| Felid | 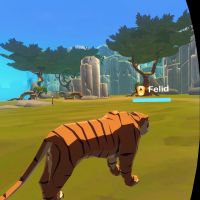 |
X |
| |||||
| Truffle Hog | 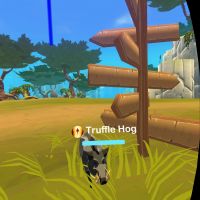 |
X | ||||||
| Truffle Pigglet | 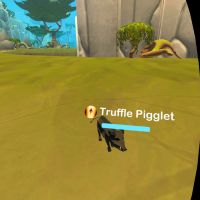 |
X | ||||||
| Chaos Giant [Boss] |
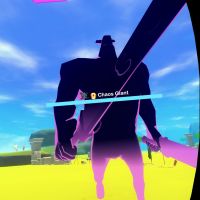 |
X | ||||||
| Tear Brute | 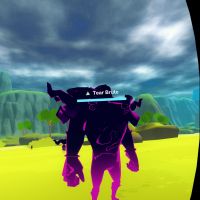 |
X | ||||||
| Tear Wizard | 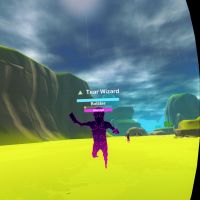 |
X | X | |||||
| Tear Caster | 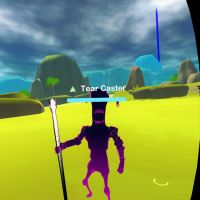 |
X | ||||||
| Tear General | 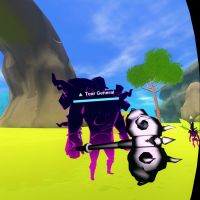 |
X | ||||||
| General Minion | 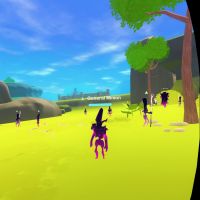 |
X | ||||||
| Miner's Problem (Minion) | 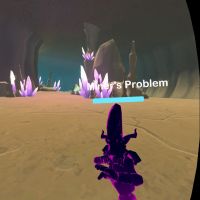 |
X | ||||||
| Miner's Problem (Brute) | 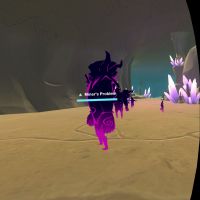 |
X | ||||||
| Miner's Problem (Wizard) | 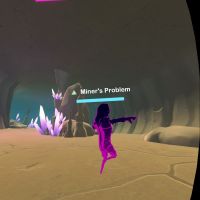 |
X | ||||||
| Darkness Master | 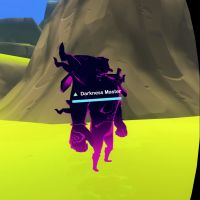 |
X | ||||||
| Elite Tear Minion | 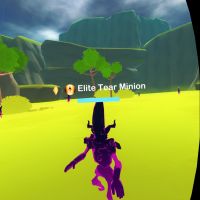 |
X | ||||||
| Elite Tear Wizard | 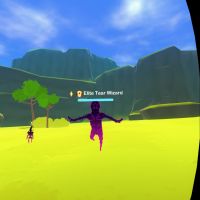 |
X | ||||||
| Enraged Tear Brute | 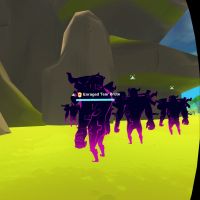 |
X | ||||||
| Enraged Tear Wizard | 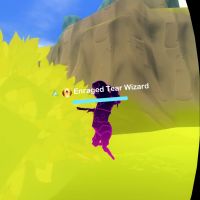 |
X | ||||||
| Enraged Tear Caster | 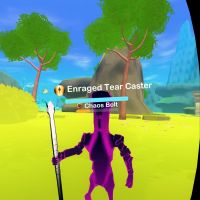 |
X | ||||||
| Midnight Warg | 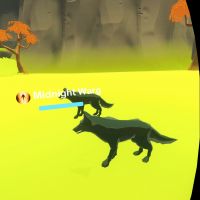 |
X | X | |||||
| Spiked Pistoler Scav | 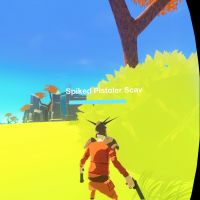 |
X | ||||||
| Void Brute | 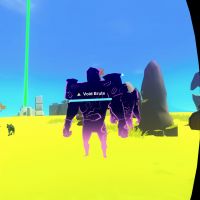 |
X | ||||||
| Enraged Tear Minion | 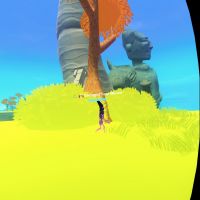 |
X | ||||||
| Scav Giant [Boss] |
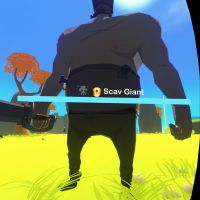 |
X | ||||||
| Bear | 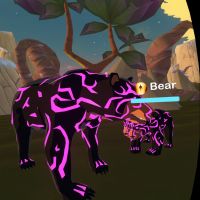 |
X | X | |||||
| Cub | 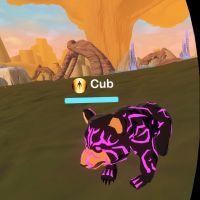 |
X | X | |||||
| Assassin Scav | 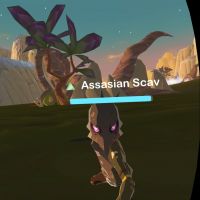 |
X | ||||||
| Pistoler Scav | 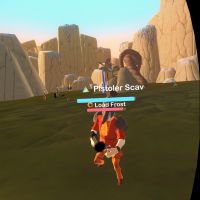 |
X | ||||||
| Marksman Scav | 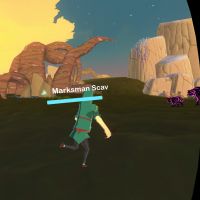 |
X | ||||||
| Scav Knight | 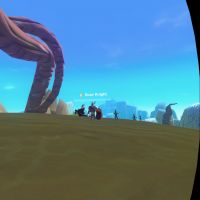 |
X | ||||||
| Tohmain | 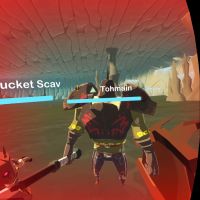 |
X | ||||||
